
How to assemble and reuse your nightlight
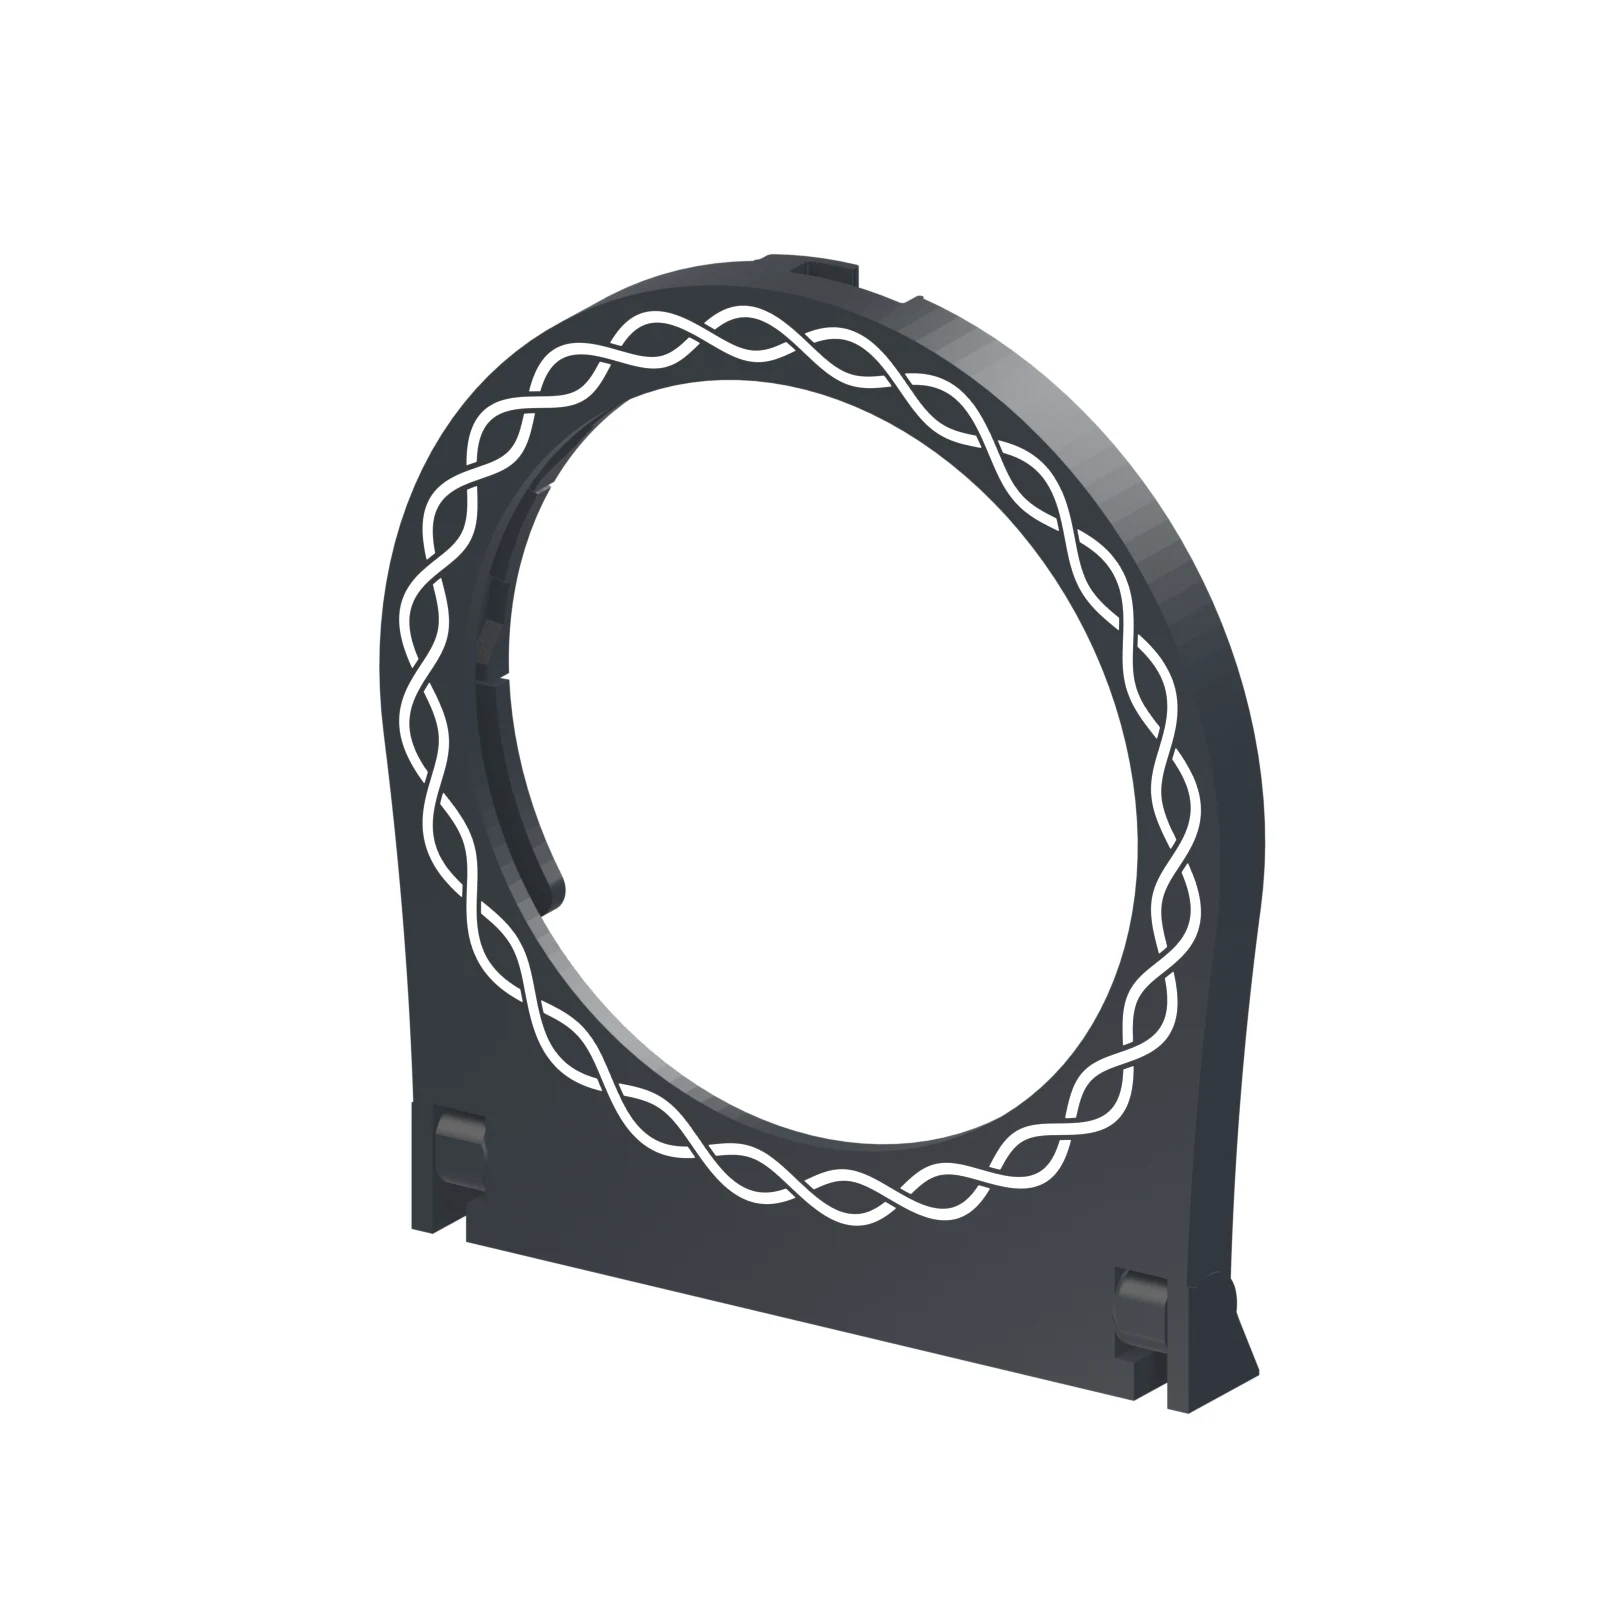
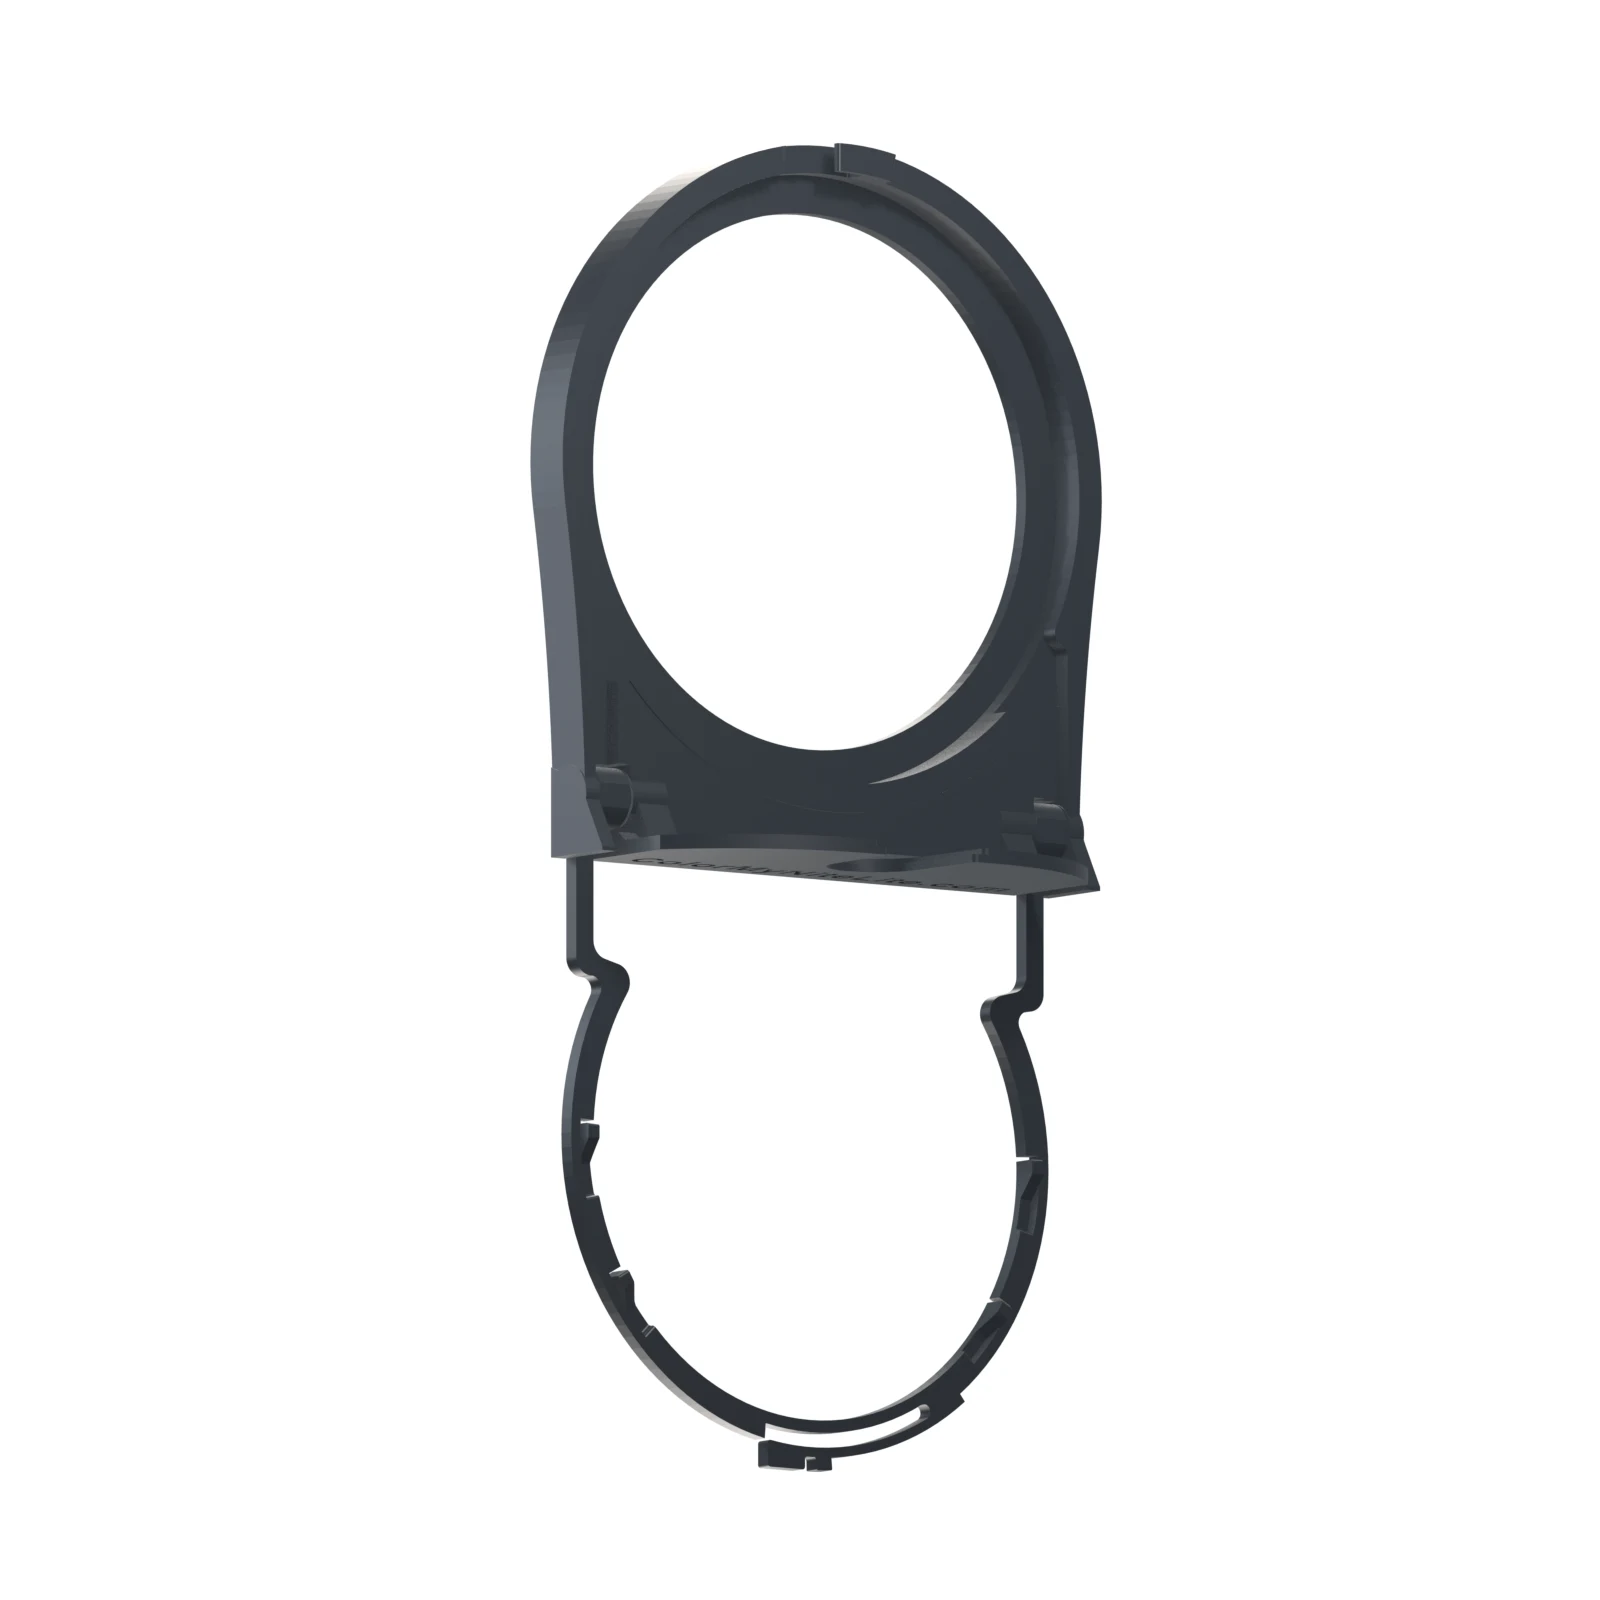
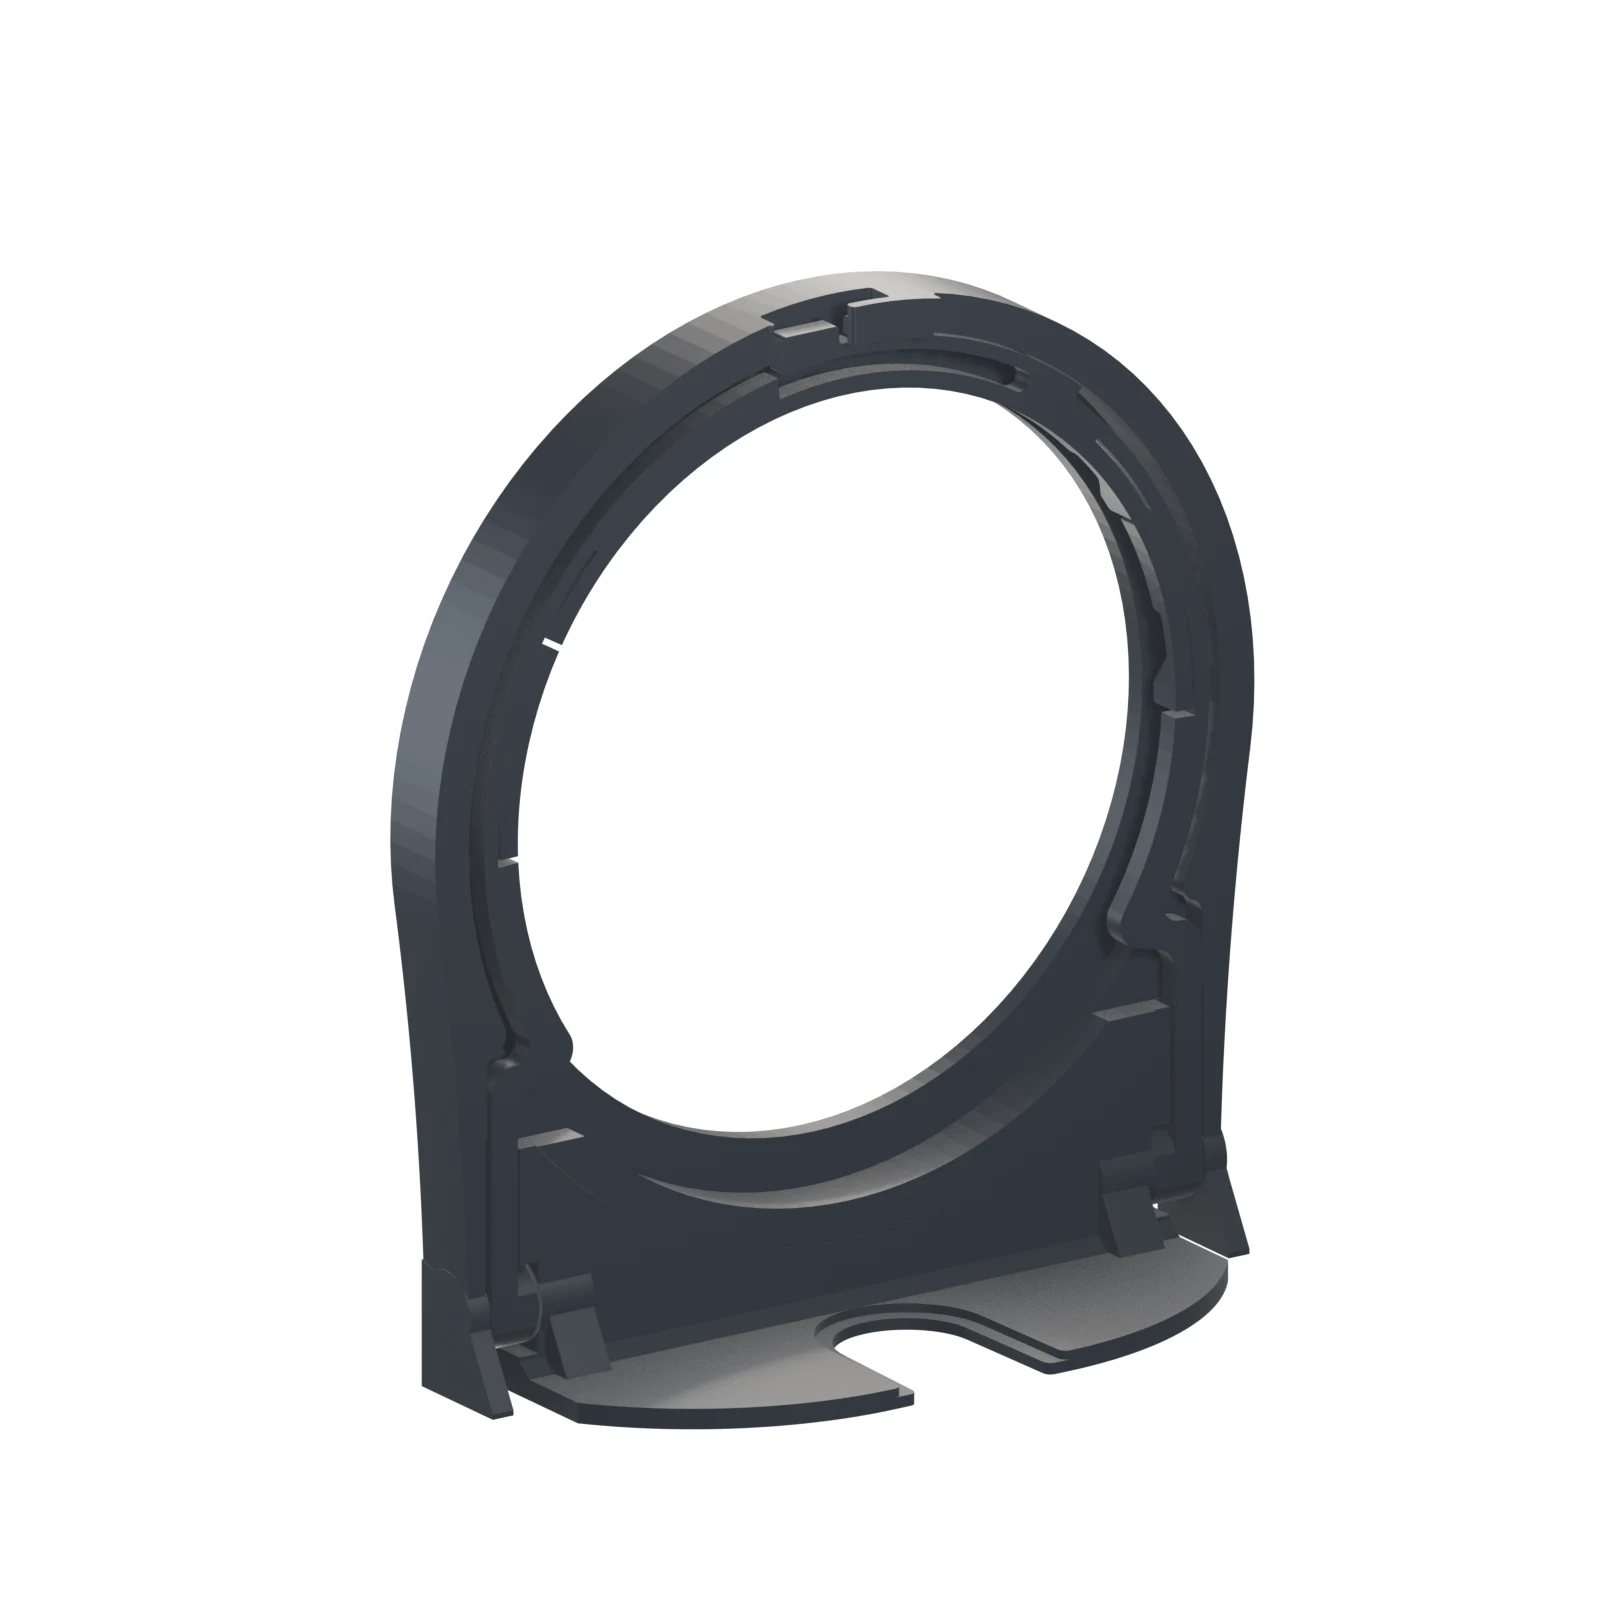
The attached back holds the clear disc and picture. A grown-up opens it to change pictures.
Illustration of the attached back. Follow the instructions supplied with the light.
Cut, then color
Cut out all the circles on the page, then let your child choose which one to color first. A grown-up supervises cutting around the outside of each bold circle. For more pictures, print free sheets at 100% / Actual size.
Put the picture in
A grown-up peels the protective film from both sides of the clear disc. Lay the frame face down and open its attached back. Put in the disc, then the picture with its colored side facing the disc. Close the attached back.
Light it up
A grown-up handles the electrical base and plugs in the nightlight. Follow the instructions supplied with the light.
Make another
Unplug the light. Open the attached back, swap the paper picture, and close it again. The back stays connected to the frame. Leave the clear disc in place unless it needs cleaning.
The supplied nightlight is for adult use only. A grown-up supervises cutting and handles the electrical base, picture changes, and plugging in.
Find more free picture packs · Choose individual pictures · Contact Us
Plan a birthday or family coloring activity · Printing and sizing help